Facebook
 X
X
 Pinterest
 Copy Link
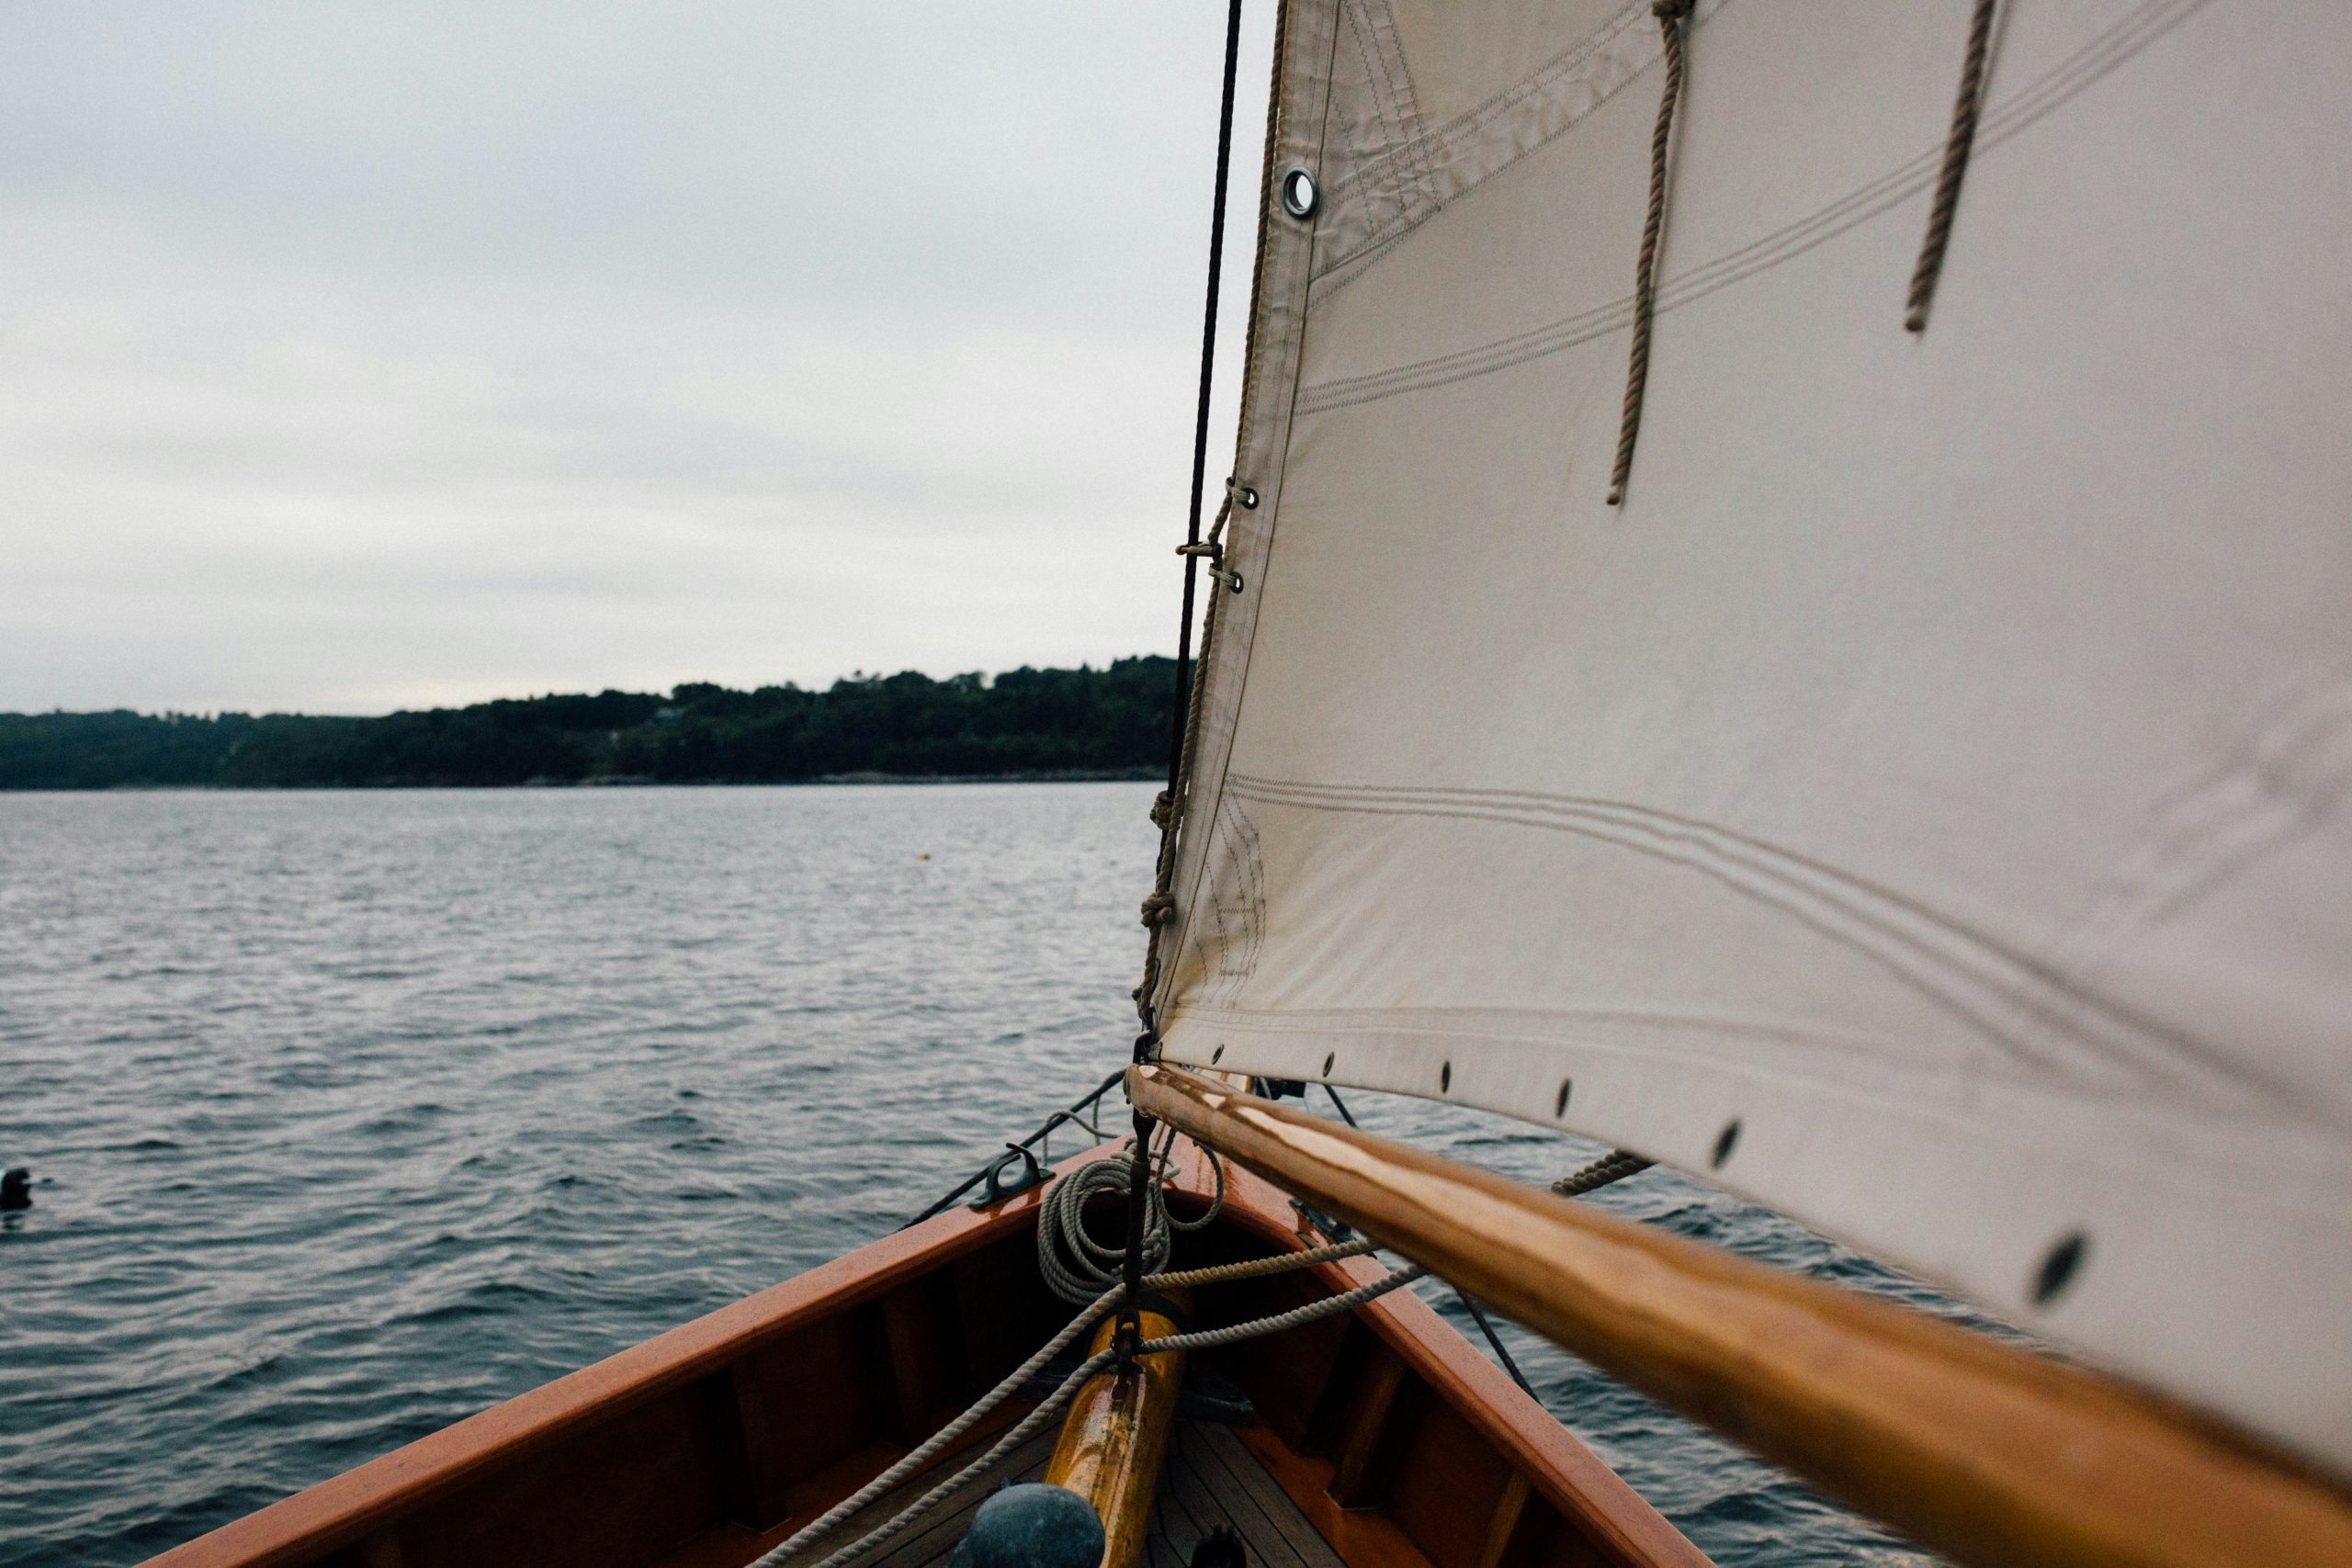
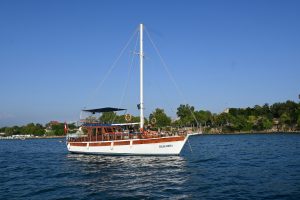
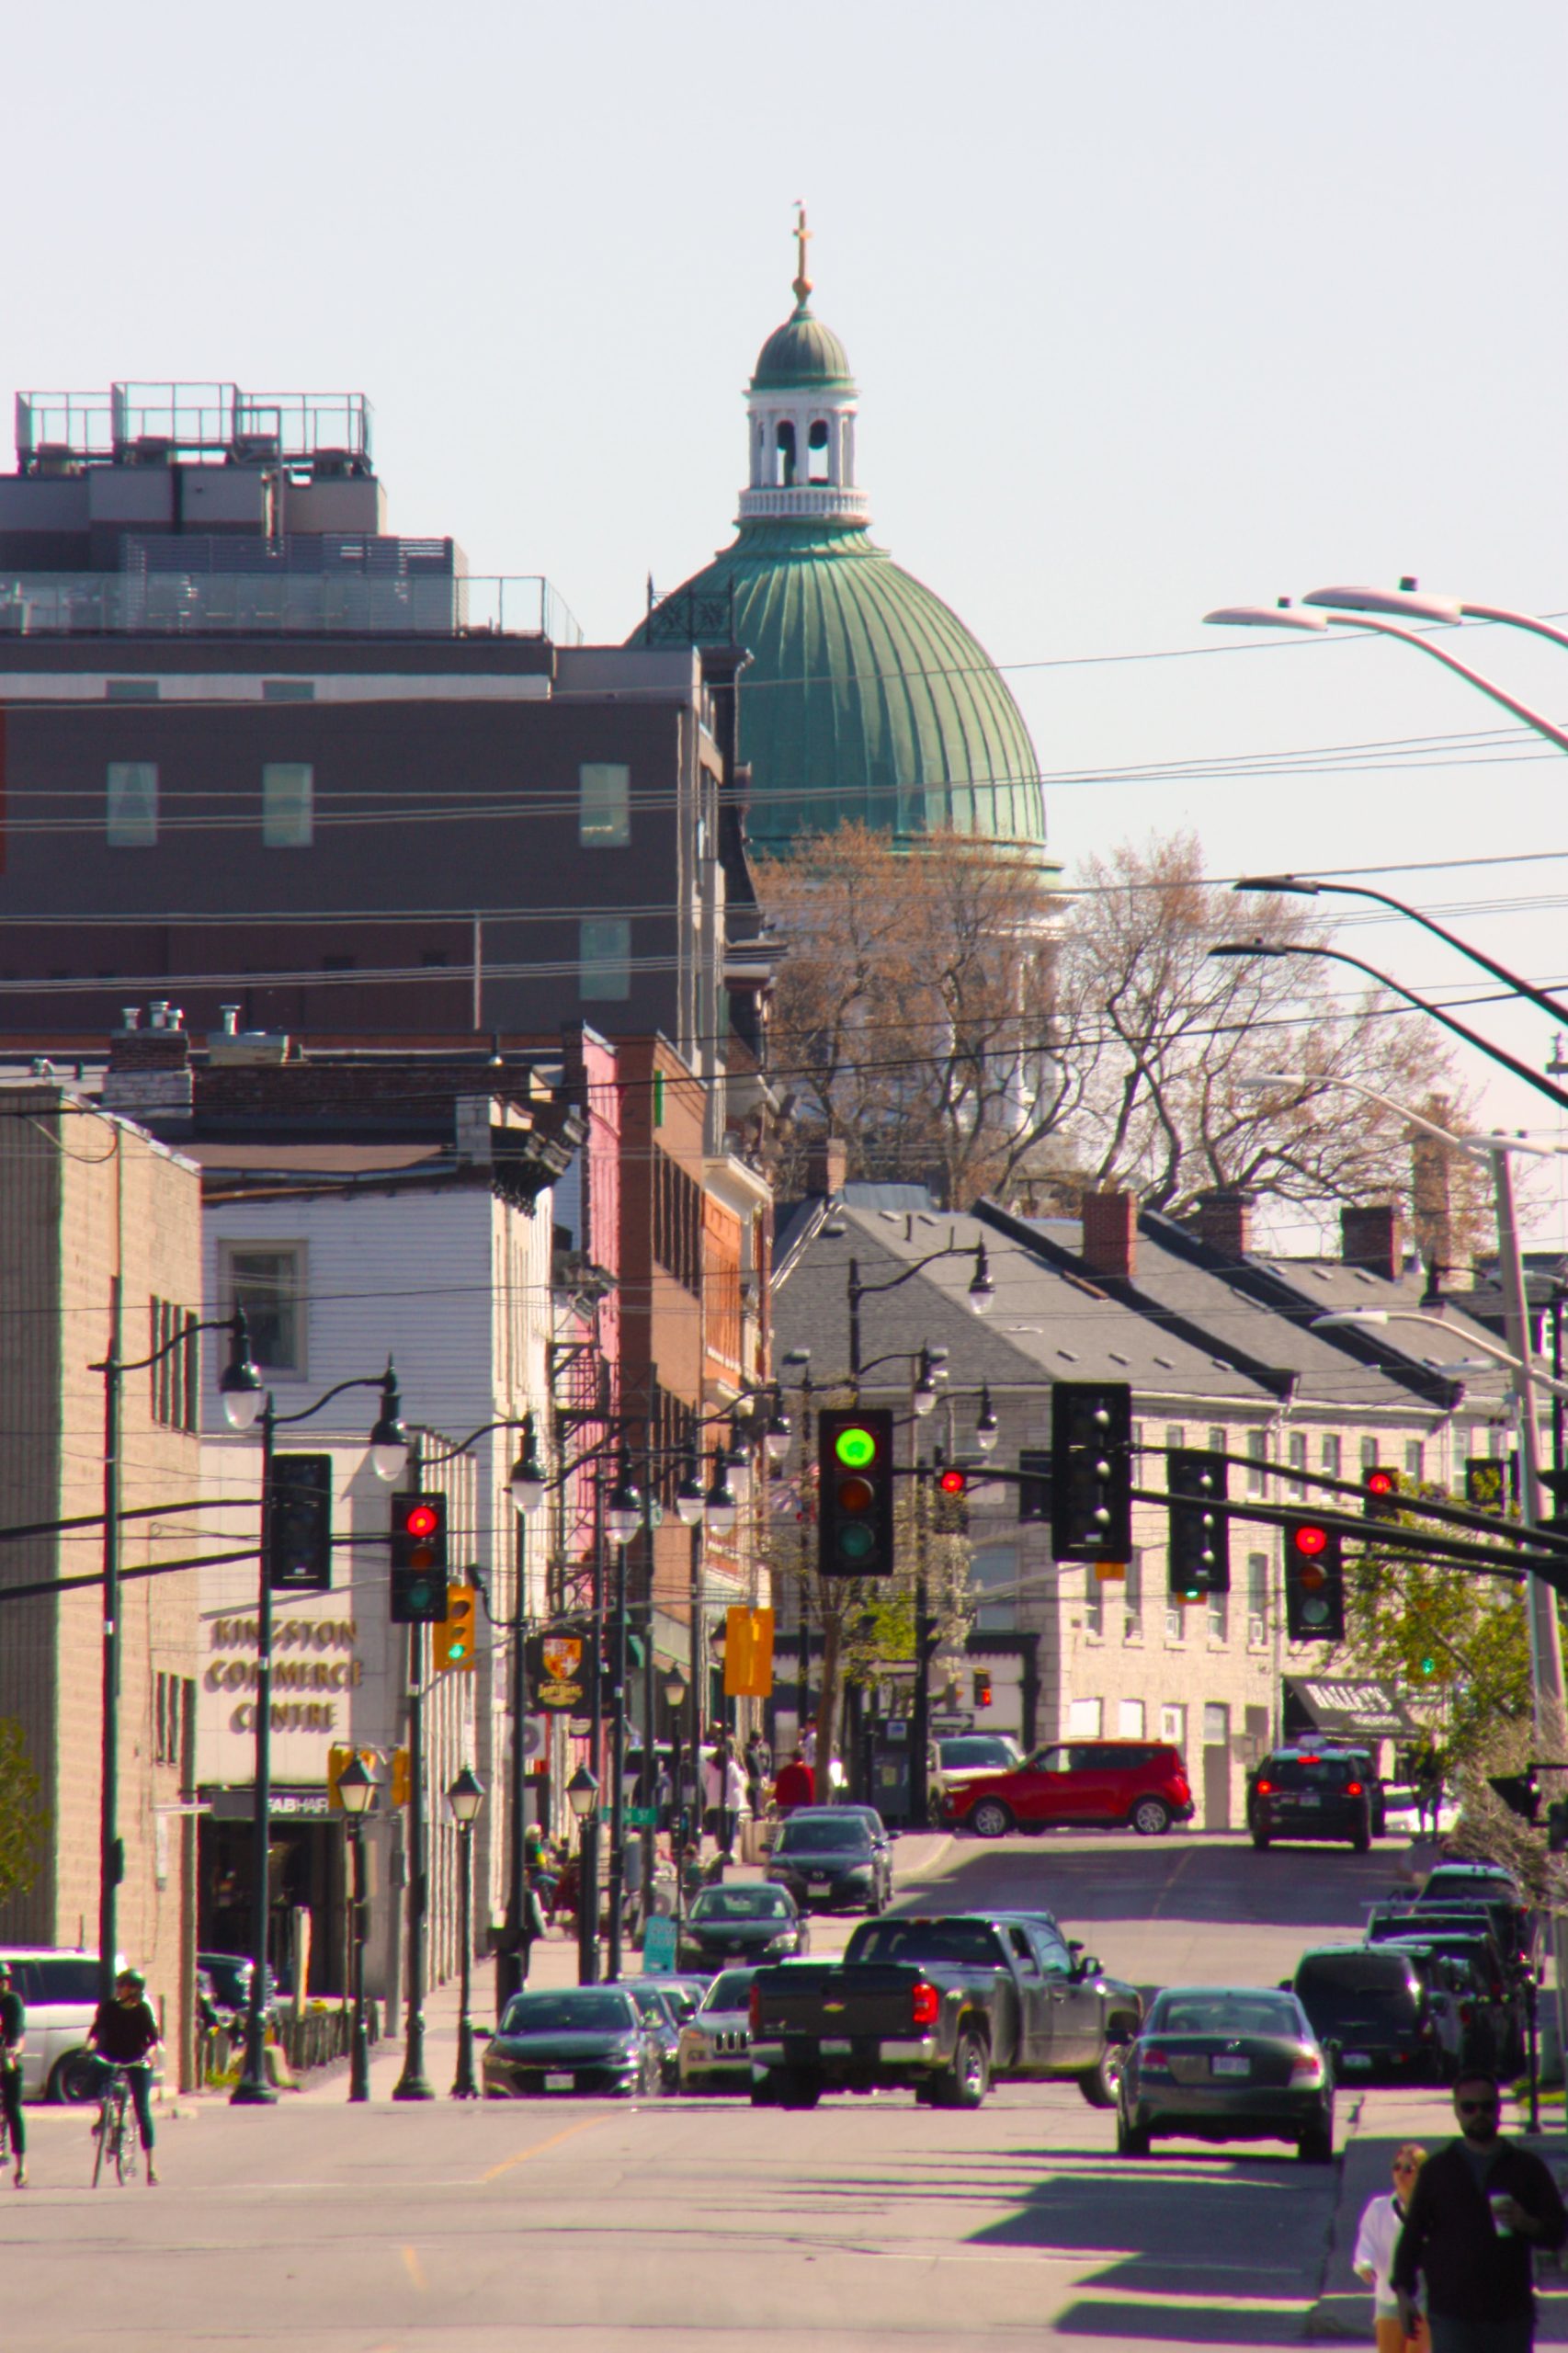
Ah, Kingston—where the lake is wide, the wind is strong, and everyone seems to own a boat… or at least pretend they do when patio season hits.
If you’ve lived here long enough, you already know the sound of halyards clanging against masts is basically our city’s summer soundtrack. Kingston isn’t just a city by the water—it’s a full-blown sailing community. Some towns have bike lanes and hiking trails; we have slips, docks, and people in boat shoes that cost more than my car.
Let’s take a (nautical) tour of Kingston’s finest marinas and yacht clubs—where the sunscreen flows like water and the GPS always says “Head southwest into fun.”
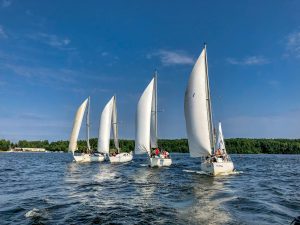
- Kingston Yacht Club – “The OG”
This place has been around since 1896, which means it predates sliced bread, traffic lights, and any reasonable excuse for not knowing how to sail. Located right downtown, the Kingston Yacht Club (or KYC, if you’re into acronyms and secret handshakes) is the hub for serious sailors, casual cruisers, and people who just really like drinking wine on decks.
They offer races, lessons, and lots of social events—where you’re encouraged to wear a blazer even if you’re just eating nachos.
- Portsmouth Olympic Harbour – “The Overachiever”
Built for the 1976 Olympics, this is where Kingston flexes its international sailing cred. Portsmouth Olympic Harbour (or POH, if you’re trying to sound cool at a BBQ) is where regattas, youth programs, and dreams of gold medals collide with goose poop and parking struggles.
Still, it’s got some of the best waterfront views in the city—perfect for pretending you’re checking rigging when you’re really just avoiding your lawn care responsibilities.
- Collins Bay Marina – “The Cozy Hideaway”
Tucked on the west end, Collins Bay Marina is where sailors go to escape the downtown hustle and enjoy peaceful, well-kept docks—and arguably the best sunsets you can see from a boat not named Serenity Now. Friendly, quiet, and full of regulars who know the difference between port and starboard without looking it up on their phones.
Bonus: their swans have more personality than most small-town mayors.

- Confederation Basin – “The Tourist Magnet”
Right in the heart of downtown Kingston, this marina is for sailors who want to park their boat and immediately be 12 feet from ice cream, patios, and live music. It’s a floating hotel lobby in the summer, where transient boaters dock to stretch their legs and maybe buy a novelty T-shirt that says Nauti by Nature.
Confederation Basin is ideal for showing off your boat… and letting your boat show you off.
- Rideau Marina – “The Wildcard”
Technically just up the river a bit, Rideau Marina is for those who like things a little more rustic. It’s the kind of place where your boat neighbors might lend you a wrench, a beer, or life advice that’s 50% nonsense but still somehow helpful.
It’s got charm, history, and just enough mystery to make you wonder what kind of fish live in those weeds—and whether they’re unionized.
Final Thoughts: Anchors Aweigh, Kingston
Whether you’re a seasoned sailor, a weekend kayaker, or just someone who likes to yell “Ahoy!” unironically, Kingston has a spot for you on the water. Our sailing community is rich in tradition, full of characters, and always ready to welcome another boat into the bay.
So hoist the mainsail, trim your jib, and don’t forget the snacks—because in Kingston, sailing isn’t just a hobby. It’s a way of life. And if you’re lucky, it comes with a yacht club burger and a cold drink after.